Do you want to show a custom page when someone accesses a page that does not exist on your server? This can be easily achieved via the cPanel interface.
The steps on how to configure custom web pages for web servers errors (HTTP status code 4xx or 5xx) are:
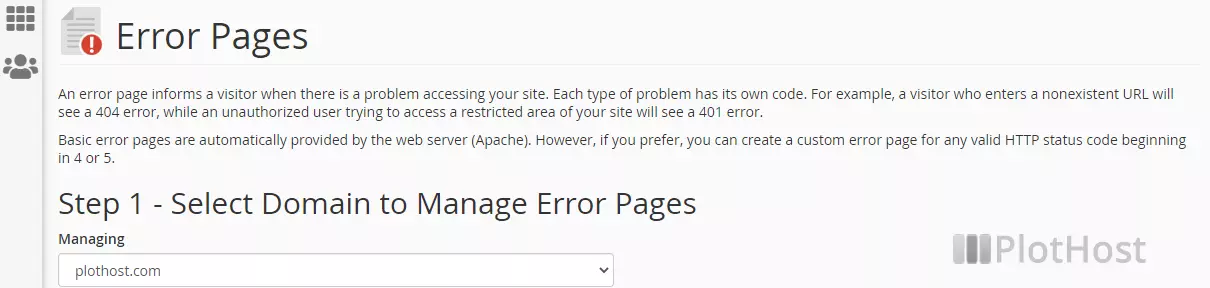
- Log into your cPanel account
- Go to the Advanced section, select Error Pages.
- From the drop-down list select the domain you want to manage error pages for. (it can be the main cPanel domain, a subdomain, an addon domain)
- Select the page you want to edit (for example 404 – File Not found)
- Now you will just need to edit the error file (you can use the HTML syntax). Also, cPanel has some tags that you can insert.
- Click Save.
The web servers errors for which you can create web pages are:
400 (Bad request)
401 (Authorization required)
402 (Payment required)
403 (Forbidden)
404 (Not found)
405 (Method not allowed)
406 (Not acceptable)
407 (Proxy authentication required)
408 (Request timeout)
409 (Conflict)
410 (Gone)
411 (Length required)
412 (Precondition failed)
413 (Request entity too large)
414 (Request URI too large)
415 (Unsupported media type)
416 (Request range not satisfiable)
417 (Expectation failed)
422 (Unprocessable entity)
423 (Locked)
424 (Failed dependency)
500 (Internal server error)
501 (Not Implemented)
502 (Bad gateway)
503 (Service unavailable)
504 (Gateway timeout)
505 (HTTP version not supported)
506 (Variant also negotiates)
507 (Insufficient storage)
510 (Not extended)
A video tutorial in which we show you how to configure and test an error page: