After you change the nameservers for your site, you will want to clear the DNS cache.
Notice that clearing the Windows OS/Chrome cache after you’ve changed the nameservers for your site, doesn’t guarantee that your site will load from the new server. You will need to wait for the new nameservers to propagate to the nodes near your location.
For Windows OS:
Search Windows for “cmd” (Command Prompt). In the Command Prompt window, type ipconfig /flushdns
Microsoft Windows [Version 10.0.15063]
(c) 2017 Microsoft Corporation. All rights reserved.

C:\Users\Max>ipconfig /flushdns

Windows IP Configuration

Successfully flushed the DNS Resolver Cache.

C:\Users\Max>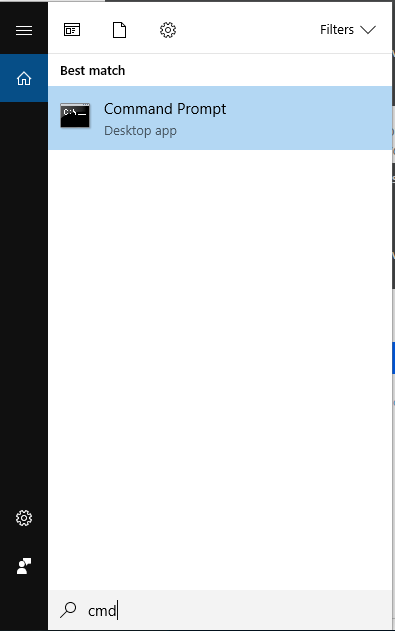
If you are using a recent version of Windows – like Windows 10 – you can also use Windows PowerShell. Use the same command ipconfig /flusdns :
Windows PowerShell
Copyright (C) 2016 Microsoft Corporation. All rights reserved.

PS C:\Users\Max> ipconfig /flushdns

Windows IP Configuration

Successfully flushed the DNS Resolver Cache.
PS C:\Users\Max>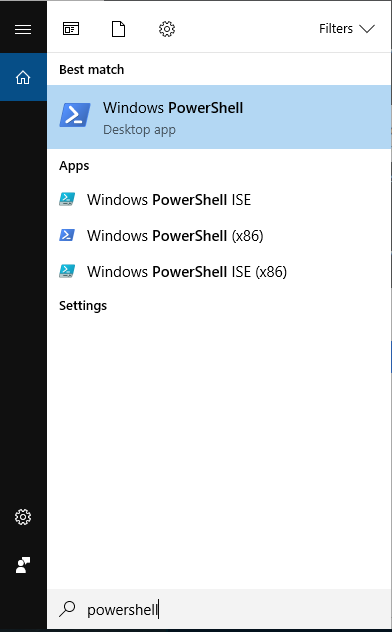
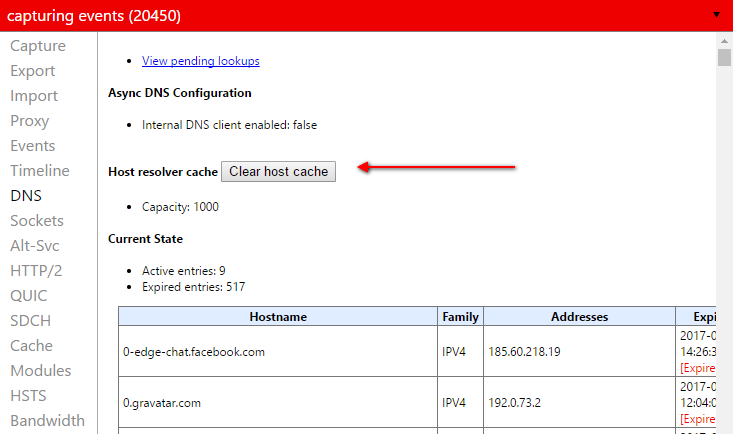
Some browsers keep a DNS cache that is independent of the one used by the OS. For example, in Google Chrome, navigate to chrome://net-internals/#dns and click the “Clear host cache” button.
You can also clear the DNS cache for your domain at the Google Flush Cache