This tutorial doesn’t work anymore! (September 26, 2018)
If you just installed the CentOS Web Panel (see the link at the end of this article) you probably want to set up an SSL certificate for the server’s hostname. First of all, be sure to point the hostname to the server’s IPs/nameservers.
To set up an SSL certificate for hostname:
Log in to CWP as rootNavigate to User Accounts-> New AccountEnter the details for the new account. For the Domain name enter the hostname (e.g. cwp-server.domain.com).Click the Create buttonGo to Apache Settings->SSL Cert Manager.Look for AutoSSL tab/section. Choose the previously created username, the hostname domain and click the Install SSL button. You will see a message like AutoSSL installation for domain cwp1.plothost.com success!At the bottom of the page you will see the certification details :DocumentRoot: /home/cwp1/public_html
SSLCertificateFile: /etc/pki/tls/certs/cwp1.plothost.com.cert
SSLCertificateKeyFile: /etc/pki/tls/private/cwp1.plothost.com.key
SSLCertificateChainFile: /etc/pki/tls/certs/cwp1.plothost.com.bundleOpen the CWP File Manager and navigate to file /usr/local/cwpsrv/conf/cwpsrv.conf. Click on the file to select it and then on the Edit button.In the cwpsrv.conf file, change the name of the certificate and certificate key from the default:ssl_certificate /etc/pki/tls/certs/hostname.crt; ssl_certificate_key /etc/pki/tls/private/hostname.key;to
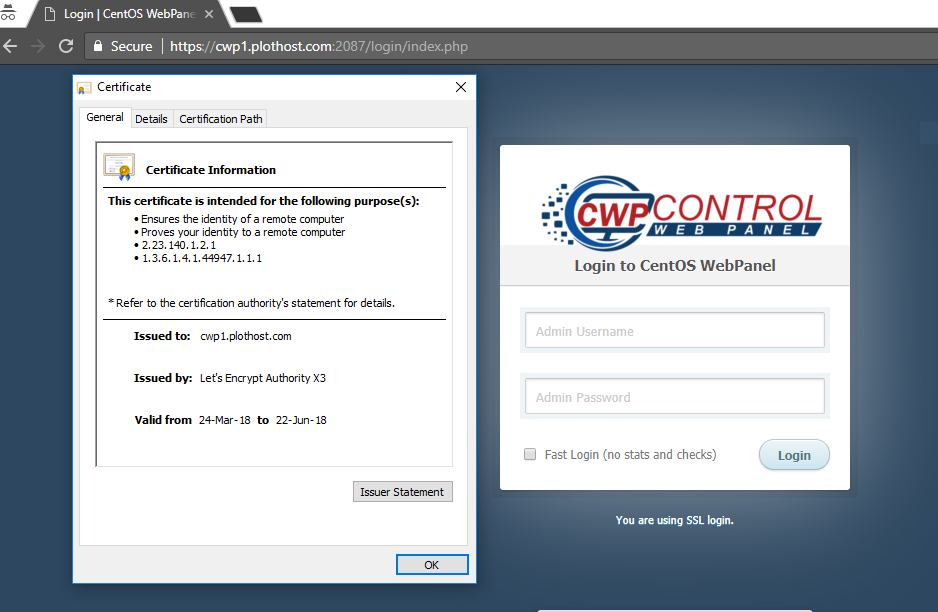
the names from step 7. In our case these are:ssl_certificate /etc/pki/tls/certs/cwp1.plothost.com.cert; ssl_certificate_key /etc/pki/tls/private/cwp1.plothost.com.key;Click the Save file button and close the CWP File Manager window.Now go to CWP Settings->Reboot Server and click the Reboot Server Now button.Wait for a few minutes and you will be able to connect to CWP via https://hostname:2087. This is it 🙂
The movie tutorial for this KB web article:
YouTube video removed!
Notice that generating the same certificate multiple times can lead at some point to Let’s Encrypt Authority errors. During testing, we got this error at one point:
[Fri Mar 23 15:57:42 EDT 2018] Sign failed: "detail":"Error creating new cert :: too many certificates already issued for exact set of domains: cwp.plothost.com: see https://letsencrypt.org/docs/rate-limits/"
[Fri Mar 23 15:57:42 EDT 2018] Please check log file for more details: /root/.acme.sh/acme.sh.log
Related KB article: How to install CentOS Web Panel
Don’t do this, after completing this tutorial you will be unable to access your panel. if you have any problem after doing this tutorial rename your file again using SSH, to the previous name. then you will have access again.
followed method and works, many thanks 🙂
Hi, look’s promissing,
but when I try to issue de cert I have this error
“DNS of your domain doesn’t point to this server or you have htaccess restrictions”