In the last versions, WHMCS introduced the automatic updates feature. With this, you can have your installation automatically updated to the latest version with just a few clicks. Notice that it doesn’t automatically update itself like WordPress for example.
Before starting any WHMCS update we recommend to backup your installation/web hosting account.
Unless it’s a security update, we recommend waiting a few days before applying any update. This is to allow any bugs to be fixed.
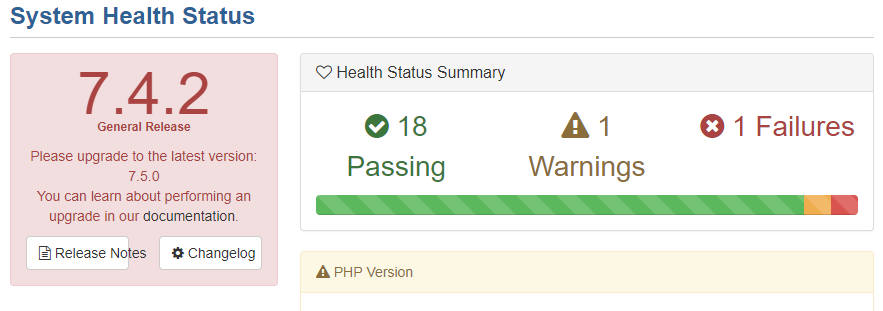
When an update is available(in our example case from WHMCS 7.4.2 to WHMCS 7.5.0) you will see notifications in many places. In Help->System Health Status, for example, you will see:
To update WHMCS go to Utilities->Update WHMCS. You must re-enter the password to continue (You are entering an administrative area of WHMCS and must confirm your password to continue.):

Here you will see the Update WHMCS screen. You can see that an update is available and any issues found on the server. In our example, you can see that there is an issue, and an update can’t be performed due to the ionCube Loader – Unable to Perform Automatic Updates Your system has ionCube Loader 6.1.0. Please install ionCube Loader 10.1.0 or higher to update to WHMCS Version 7.5.0. Learn More. You must fix any issues before continuing.

Also here you can set the Update settings. Just click the Configure Update Settings button.

The update settings window will open where you can set:
- the update channel, as:
– Stable – recommended for production use
– Release Candidate – almost stable, stable will come very soon
– Beta – only for testing
– Current Version – you will receive only maintenance update for the current version, no major updates - temporary path used by the update utility – as suggested, use a directory outside the public root directory.
- maintenance message – the message that users will see during the update process. Use something like: Maintenance in progress. Thank you.
To begin the installation, click the Update Now button.
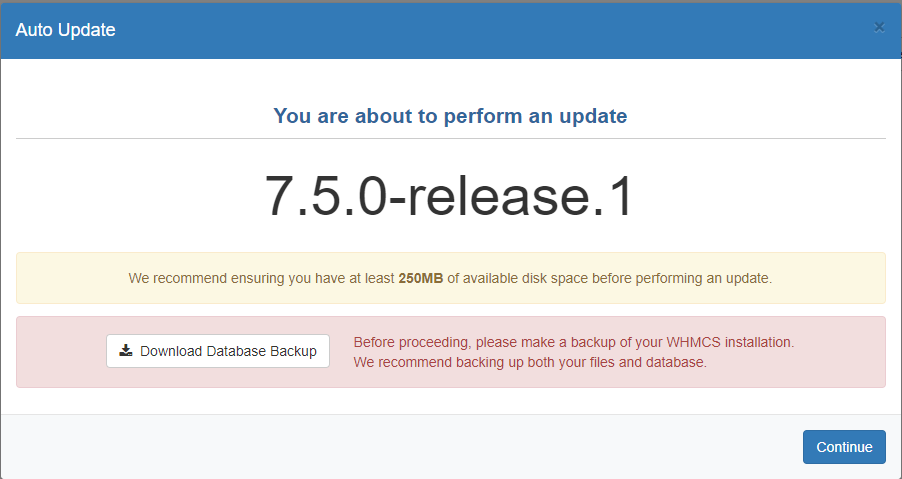
Notice the WHMS warning: Before proceeding, please make a backup of your WHMCS installation. We recommend backing up both your files and database.
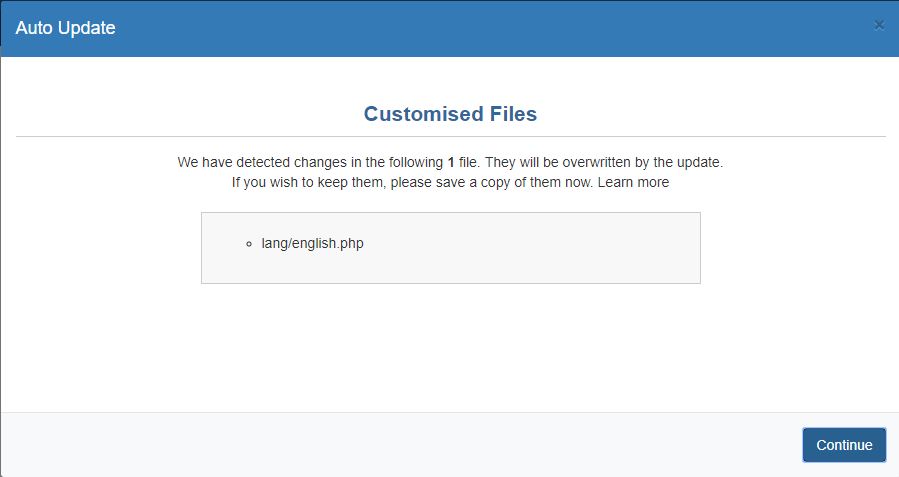
Click the Continue button. If you have any customized files, WHMCS will let you know.
Click Continue button. Everything is fine and the update is ready to begin.
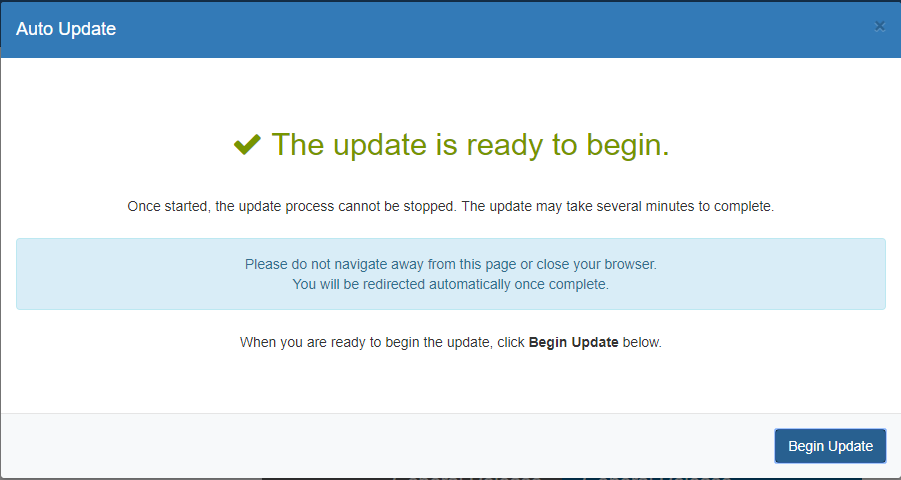
Click the Begin Update button. You will see the update process as:
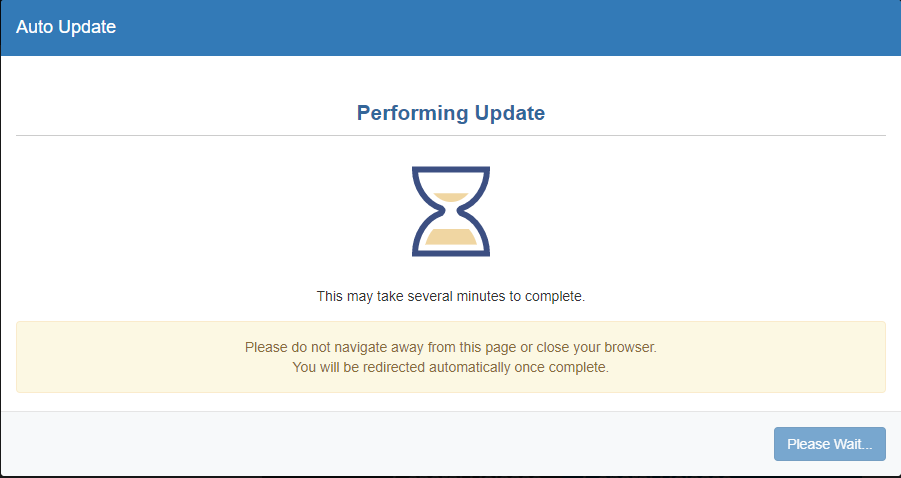
Notice the warning message: Please do not navigate away from this page or close your browser. You will be redirected automatically once complete.
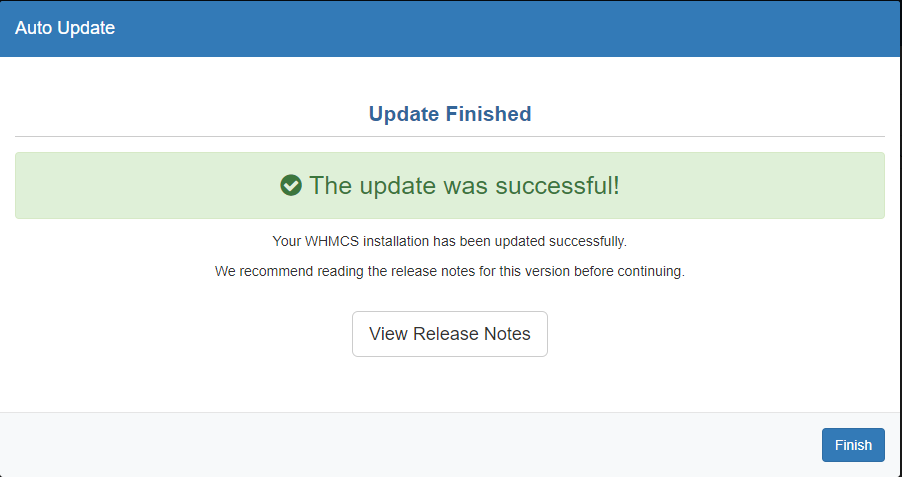
After a few minutes (depending on your web hosting server load) the update will end with a message: The update was successful!
More details about the WHMCS installation/upgrade can be found at https://docs.whmcs.com/Installing_WHMCS