cPanel allows you to easily manage your databases and users.
Steps to add a new cPanel database:
- Log in to cPanel
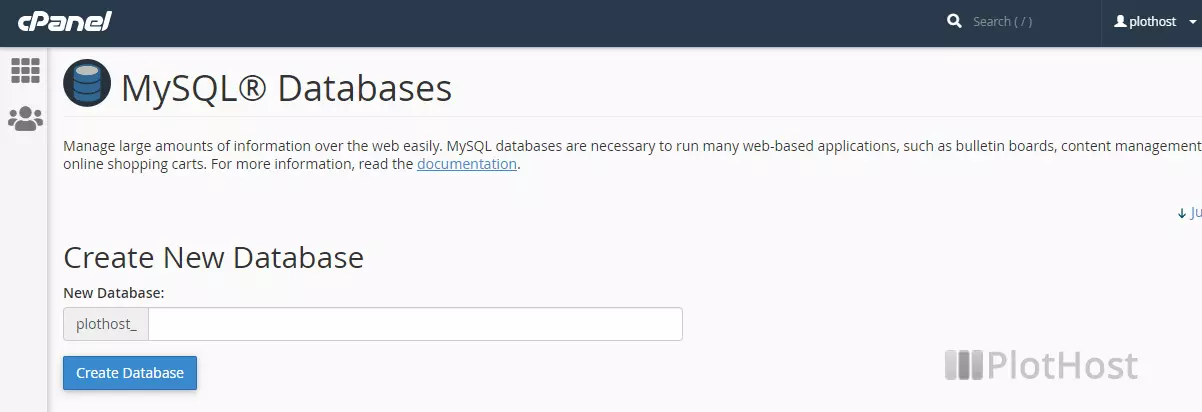
- Look for MySQL® Databases (DATABASES section)
- Look for Create New Database section. Enter your desired database name and click the Create Database button. The database will be created, a confirmations message will be displayed: Added the database “database_name”.
To check/repair a database in cPanel:
- Log in to cPanel
- Look for MySQL® Databases (DATABASES section)
- Go the Modify Databases section
- Select from the drop-down list the database you want to check(or repair).
- Click the Check(or Repair) Database button. In case of an issue, you will see them. In case everything is fine, a success message will be displayed: Success: Check/Repair Complete!
To add a new user to the MySQL/MariaDB server:
- Log in to cPanel
- Look for MySQL® Databases (DATABASES section)
- Go the Modify Databases section
- Look for MySQL Users->Add New User section
- Enter the Username and Password.
- Click the Create User button. The new user will be created, you will see a confirmation message: You have successfully created a MySQL user named “username”.
To add a user to a database:
- Log in to cPanel
- Look for MySQL® Databases (DATABASES section)
- Go the Modify Databases section
- Look for MySQL Users->Add User To Database section
- Choose the User and the Database from the two drop-down lists.
- Click the Add button.
- Choose the privileges you want to give to the user.
- Click the Make Changes button.
Notice that you can use this tool for both MySQL and MariaDB servers.
Related KB: How to use the cPanel MySQL Database Wizard